
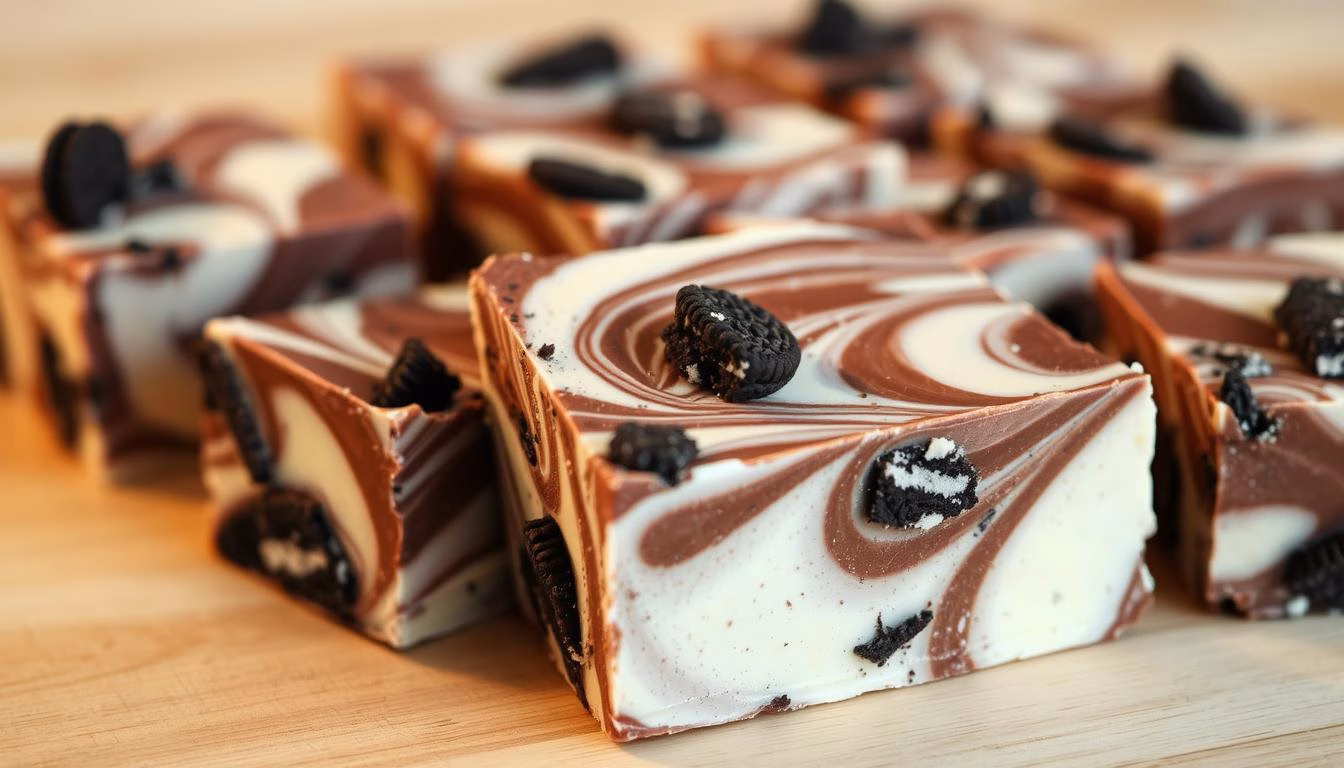
If you’re looking for a decadent treat that’s easy to make, you’re in the right place! This Cookies and Cream Swirl Fudge Recipe brings those flavors together in a smooth, melt-in-your-mouth treat that’s as beautiful as it is delicious. Perfect for beginners and seasoned bakers alike, this recipe requires no candy thermometer and just a few simple ingredients.
I love putting creative spins on classic recipes, and this one is a favorite. With sweetened condensed milk, white chocolate, and crushed Oreos, the process is quick and fun. Just melt, mix, and swirl for that smooth, velvety texture. A glass bowl and nonstick pan are all you need to get started.
Whether you’re making it for a party or just to satisfy a sweet craving, this fudge is sure to impress. Follow along for clear, step-by-step instructions to create this irresistible treat. Let’s dive in and make something delicious together!

Cookies and Cream Swirl Fudge
Equipment
- Mixing bowl
- Microwave-safe bowl for melting chocolate
- 8×8-inch baking pan lined with parchment paper
- Spatula for swirling fudge layers
- Refrigerator for chilling fudge
Ingredients
- 3 cups white chocolate chips
- 1 can sweetened condensed milk (14 oz)
- 1 tsp vanilla extract
- 10 cookies Oreo crushed into chunks
- 2 tbsp semi-sweet chocolate chips melted for swirling
Instructions
- Line an 8×8 inch baking pan with parchment paper, leaving an overhang for easy removal.
- In a microwave-safe bowl, combine the white chocolate chips and sweetened condensed milk. Microwave in 30-second intervals, stirring in between, until smooth.
- Stir in the vanilla extract and fold in the crushed Oreo cookies until evenly distributed.
- Pour the fudge mixture into the prepared baking pan and smooth the top with a spatula. Drizzle the melted semi-sweet chocolate over the top and use a spatula to create swirls.
- Refrigerate for at least 2 hours, or until firm.
- Once fully set, lift the fudge out of the pan using the parchment paper overhang. Cut into small squares and serve.
Notes
- Optional Equipment: A double boiler can be used instead of a microwave to melt the chocolate.
- Customization: Add a pinch of sea salt for a sweet-salty contrast.
- Storage: Store in an airtight container in the refrigerator for up to 1 week.
- Serving Tip: Let the fudge sit at room temperature for 5 minutes before serving for the best texture.
Why You’ll Love This Cookies and Cream Swirl Fudge
There’s something magical about combining classic flavors into a new treat. This fudge recipe is a perfect example. It blends creamy white chocolate with the crunch of Oreos for a dessert that’s both indulgent and nostalgic. I’ve always loved experimenting with recipes, and this one holds a special place in my heart.

Growing up, family gatherings were filled with sweet treats. One of my favorites was anything with a cookie cream twist. This recipe was inspired by those memories. It’s simple, quick, and requires just a few minutes of prep. Plus, the swirling technique adds a beautiful, marbled effect that’s sure to impress.
What Makes This Fudge Special
The secret lies in the balance of flavors and textures. The smooth white chocolate base pairs perfectly with the crushed Oreos. It’s a timeless combination that never fails to delight. I also pay close attention to timing and quality ingredients to ensure a velvety texture every time.
“The best desserts are the ones that bring people together.”
The Rise of Cookies and Cream Treats
Over the years, cookies cream desserts have become a trend. From ice cream to cakes, the classic Oreo flavor is everywhere. This recipe taps into that popularity while offering a unique twist. It’s perfect for parties, holidays, or just a cozy night in.
| Ingredient | Role |
|---|---|
| White Chocolate | Base for creamy texture |
| Oreos | Adds crunch and flavor |
| Sweetened Condensed Milk | Ensures smooth consistency |
Feel free to print or pin this recipe for later. It’s a keeper! If you’re a fan of creamy desserts, you’ll also love this white chocolate cream-filled churro recipe. Both are perfect for satisfying your sweet tooth.
Ingredients and Equipment
Every great dessert starts with quality ingredients and the right equipment. For this treat, you’ll need a few key items to ensure a smooth, creamy texture and a perfect balance of flavors. Let’s dive into what you’ll need and why each one matters.
Essential Ingredients and Their Roles
The foundation of this recipe is white chocolate. I prefer using high-quality Ghirardelli white chocolate chips because they melt smoothly and create a rich base. The sweetened condensed milk binds everything together, giving the fudge its velvety consistency.
Crushed Oreos add a delightful crunch and a classic flavor contrast. Don’t forget to measure carefully—using a cup ensures accuracy. Even a small ingredient like vanilla extract plays a key role in enhancing the overall taste.

Must-Have Kitchen Tools and Pan Preparation
To make this recipe a breeze, you’ll need a few essential tools. A microwavable glass bowl is perfect for melting the white chocolate chips evenly. A nonstick pan ensures easy removal of the fudge once it’s set.
Proper prep is crucial. Line your pan with foil or parchment paper to prevent sticking. This small step makes a big difference in the final result. With these tools and a bit of prep, you’re ready to create something amazing!
Step-by-Step Preparation
Let’s dive into the fun part—bringing this treat to life! With just a few simple steps, you’ll have a creamy, indulgent dessert ready to enjoy. I’ll walk you through each stage, so you can feel confident every step of the way.

Melting and Mixing the White Chocolate and Condensed Milk
Start by combining the white chocolate and sweetened condensed milk in a microwave-safe bowl. I recommend using a glass bowl for even heating. Microwave the mixture in 30-second bursts, stirring well after each interval. This method prevents scorching and ensures a smooth consistency.
Timing is key here. Each minute counts to achieve that perfect, velvety texture. Once the mixture is fully melted and combined, it’s ready for the next step. Trust me, this part is easier than it sounds!
Folding in Crushed Oreos for Texture
Now comes the fun part—adding the Oreos! Measure out a cup of crushed Oreos and gently fold them into the melted mixture. Be careful not to overmix; you want to preserve that delightful crunch.
This step adds a beautiful contrast to the creamy base. It’s the perfect balance of smooth and crunchy, making every bite irresistible. Once everything is evenly combined, your mix is almost ready to be spread into the pan.
| Step | Key Tip |
|---|---|
| Melting | Use 30-second bursts and stir frequently. |
| Mixing | Fold in Oreos gently to preserve texture. |
| Timing | Each minute counts for perfect consistency. |
With these steps complete, you’re well on your way to creating a dessert that’s as fun to make as it is to eat. Let’s move on to the final stages and get this fudge ready to enjoy!
Baking, Setting, and Cutting the Fudge
The final steps of this dessert are just as important as the preparation. Proper pan lining, chilling, and cutting techniques ensure a flawless result. Let’s dive into the details to make your fudge look and taste amazing.
Proper Pan Lining and Nonstick Techniques
Start by lining your pan with foil or parchment paper. This step makes it easy to lift the fudge out once it’s set. For extra security, lightly spray the lining with nonstick spray. This prevents the dessert from sticking and breaking into uneven pieces.
Using a square pan ensures even thickness and clean cuts. A well-prepared pan is the foundation for a professional-looking treat. Trust me, this small effort makes a big difference!
Chilling Time and Best Practices for Cutting
After spreading the mixture, let it chill in the fridge for at least one hour. This allows the fudge to set properly. Patience here ensures a smooth, firm texture that’s easy to cut.
When it’s time to cut, use a sharp knife for clean, even squares. For cleaner cuts, dip the knife in hot water and wipe it dry between slices. This extra minute of effort ensures each piece looks perfect.
- Store leftovers in an airtight container to maintain freshness.
- For added flavor, sprinkle a few chocolate chips on top before chilling.
- Uniform serving sizes make your dessert look professional.
With these tips, your fudge recipe will shine. Proper equipment and technique bring out the best in this simple treat. Enjoy every bite of your homemade creation!
Cookies And Cream Swirl Fudge Recipe
Ready to take your dessert game to the next level? This section is all about personalizing your cream fudge with creative variations and expert tips. Whether you’re a beginner or a seasoned baker, these ideas will help you make a unique treat every time.
Variations and Substitutions to Try
One of the best things about this recipe is its versatility. Swap out classic Oreos for different flavors like mint or peanut butter. You can also add marshmallow fluff for a gooey twist or mix in chocolate chips for extra crunch. These small changes can create a whole new experience!
If you’re looking for a dairy-free option, try using coconut milk instead of sweetened condensed milk. For a richer flavor, dark chocolate can replace white chocolate. The possibilities are endless, and experimenting is half the fun!
Expert Tips for a Smooth, Creamy Fudge
To achieve that perfect cream fudge texture, pay attention to your stir technique. Stir gently but consistently to avoid air bubbles. If the mixture feels too thick, add a splash of milk to loosen it up.
Timing is crucial. Let the fudge chill for at least an hour, but don’t rush the process. Patience ensures a firm, smooth result. For a fun presentation, try cutting the fudge into sandwich shapes or serving it with a drizzle of melted chocolate.
| Variation | Substitution |
|---|---|
| Mint Oreos | Adds a refreshing twist |
| Marshmallow Fluff | Creates a gooey texture |
| Dark Chocolate | Enhances richness |
| Coconut Milk | Dairy-free alternative |
Remember, even small changes like adjusting the cup measurements can yield a unique flavor profile. For more creative dessert ideas, check out this pistachio cream recipe. It’s a perfect complement to your fudge experiments!
Final Thoughts on Cookies and Cream Swirl Fudge
This fudge recipe is a perfect blend of simplicity and indulgence. With just a few minutes of prep and an hour of chilling, you can create a dessert that’s both creamy and crunchy. The key lies in using quality ingredients like white chocolate and sweetened condensed milk, combined with the classic crunch of Oreos.
Remember to line your pan properly for easy removal and cut the fudge into neat squares for a polished look. Store your creation in an airtight container to keep it fresh. Serving it at room temperature enhances the flavors, making every piece even more delightful.
I encourage you to experiment with variations like adding chocolate chips or trying different cookie flavors. Share your results and let me know how it turns out! Thank you for joining me in this sweet adventure—happy baking!
FAQ
Can I use milk chocolate instead of white chocolate?
Absolutely! Milk chocolate works well and adds a rich flavor. Just ensure it’s high-quality for the best results.
How long does it take for the fudge to set?
It typically takes about 2-3 hours in the fridge. For a firmer texture, leave it overnight.
Can I substitute Oreos with another cookie?
Yes, you can use any sandwich cookie you prefer. The key is to crush them finely for even distribution.
What’s the best way to store this treat?
Keep it in an airtight container in the fridge. It stays fresh for up to a week.
Can I freeze this dessert for later?
Definitely! Wrap it tightly in plastic wrap and store it in a freezer-safe container for up to 3 months.
How do I prevent the fudge from sticking to the pan?
Line your pan with parchment paper or use a nonstick spray. This makes it easy to lift and cut.
Can I add other mix-ins like nuts or sprinkles?
Of course! Nuts, sprinkles, or even mini chocolate chips can add extra texture and flavor.
What’s the secret to a smooth, creamy texture?
Melt the chocolate slowly and stir gently. Overheating or vigorous mixing can cause graininess.
Best fudge recipe ever?