
Hey there, fellow cake lovers! Ever sliced into your freshly baked cake only to see it crumble? I’ve been there, and it’s really sad! But don’t worry, I’m here to help you fix this common baking problem. We’ll look at why cakes crumble and share tips for a perfect slice every time. We’ll talk about moisture, mixing, and more. So, let’s get started and improve your baking!
Key Takeaways
- Understand the science behind cake crumbling and the factors that contribute to it
- Learn how to properly measure ingredients and mix the batter to prevent a crumbly texture
- Discover the importance of temperature control during baking and cooling for a stable cake structure
- Explore the role of eggs and substitutes in maintaining cake texture
- Troubleshoot different types of cake crumbling and get expert tips to achieve the perfect slice
Understanding Cake Crumbling: Common Causes and Solutions
Baking a cake that stays firm and doesn’t crumble is an art. It’s all about balancing the cake’s structure and the right ingredients. Let’s explore why cakes crumble and how to make them perfect every time.
Basic Cake Structure and What Makes It Hold Together
Cake structure is about finding the perfect balance. Flour, eggs, sugar, and fat work together to hold the cake. If this balance is off, the cake might crumble.
Flour gives the cake structure, while eggs bind it. Sugar and fat make it tender and moist. This keeps the cake soft and together.
Once your cake holds together beautifully, you can focus on presentation — a charming animal cake topper is an easy way to add personality without extra frosting work.
Impact of Ingredients on Cake Stability
Ingredients are key to a stable cake. Too much flour makes it dry and crumbly. Not enough eggs can cause it to fall apart.
The way ingredients mix during baking is important. Gluten from flour, moisture, and the mix of wet and dry ingredients all affect the cake’s shape.
The Science Behind Cake Crumbling
The science of baking is at the heart of cake crumbling. If the batter isn’t mixed right, ingredients don’t work together well. Overmixing makes the flour tough and crumbly.
Undermixing means ingredients aren’t spread evenly. This weakens the cake’s structure.
Knowing about cake structure, ingredient impact, and the science of crumbling is essential. It helps make moist, sturdy cakes that look great when sliced.
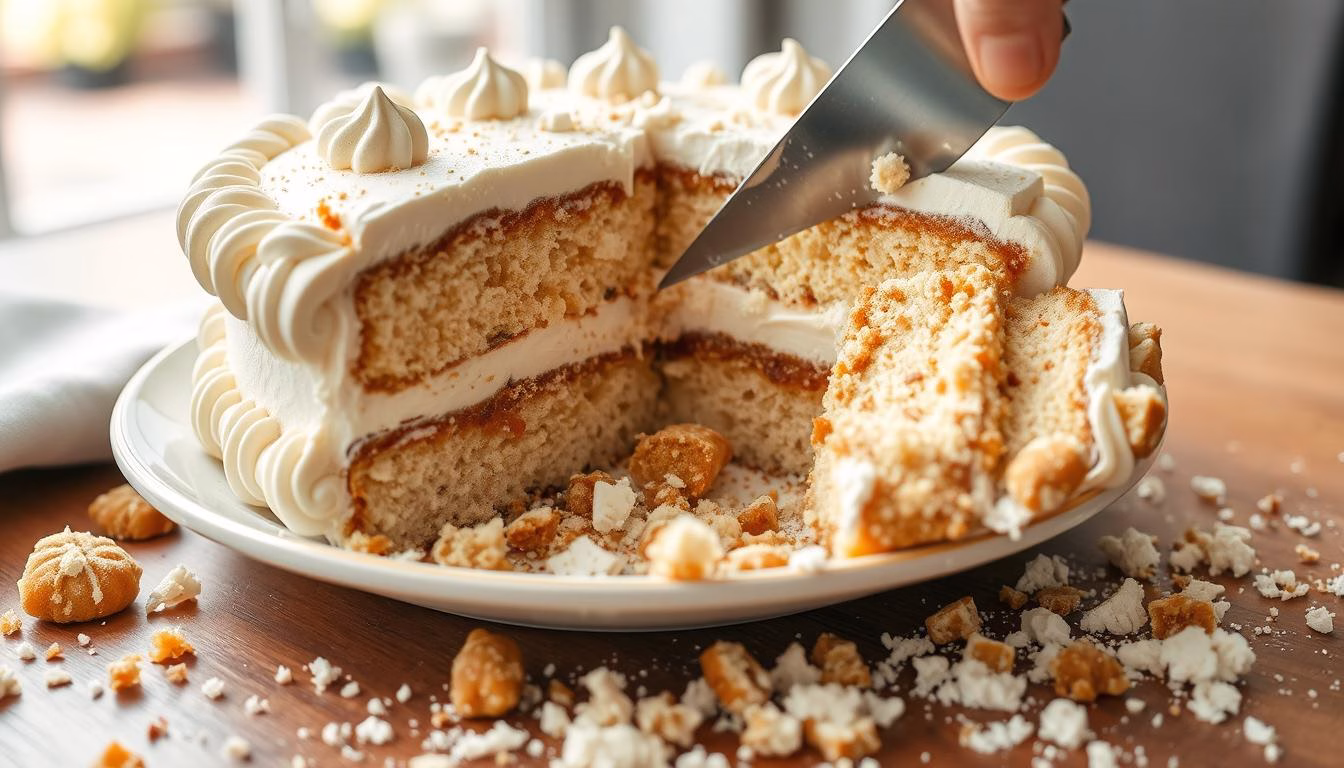
Why Does My Cake Crumble When I Cut It
Cutting into a cake only to have it crumble is really frustrating. But, the reasons for this are often simple to find and fix. Knowing what makes a cake crumble helps you avoid it in your baking.
One big reason is over-baking. A cake that’s baked too long becomes dry and crumbly. On the other hand, an underbaked cake with a soft center also falls apart when cut.
Not cooling the cake properly can also cause crumbling. If it’s cut before it’s fully cooled, it won’t hold together. Using the wrong knife, like a serrated one, can also damage the cake’s softness.
At times, the recipe itself is the problem. If there’s too much dry stuff and not enough wet, the cake will be dense and crumbly. Knowing how each ingredient works is key to a great cake.
By figuring out why your cake crumbles, you can fix it. Adjust your recipe, baking, and cutting methods for a cake that stays together.
“The key to preventing cake crumbling is to strike the right balance between the dry and wet ingredients, bake the cake to perfection, and allow it to cool properly before cutting.”
The Role of Moisture in Cake Stability
Moisture is key for a cake’s texture and stability. The right mix of wet and dry ingredients is vital. This mix ensures a tender, moist crumb that stays together when cut.
Factors like kitchen humidity can mess with this balance. This can make your cake too moist or too dry.
Proper Moisture-to-Dry Ingredients Ratio
The secret to a moist, sturdy cake is the wet to dry ingredient ratio. Ingredients like buttermilk, vegetable oil, and instant clearjel add moisture. But, an off balance can make your cake dry and crumbly.
How Humidity Affects Your Cake
Kitchen humidity greatly affects your cake’s moisture. High humidity makes the cake absorb more moisture, leading to a dense texture. Low humidity causes it to lose moisture, making it dry.
Adjusting baking time and temperature can help keep the moisture just right.
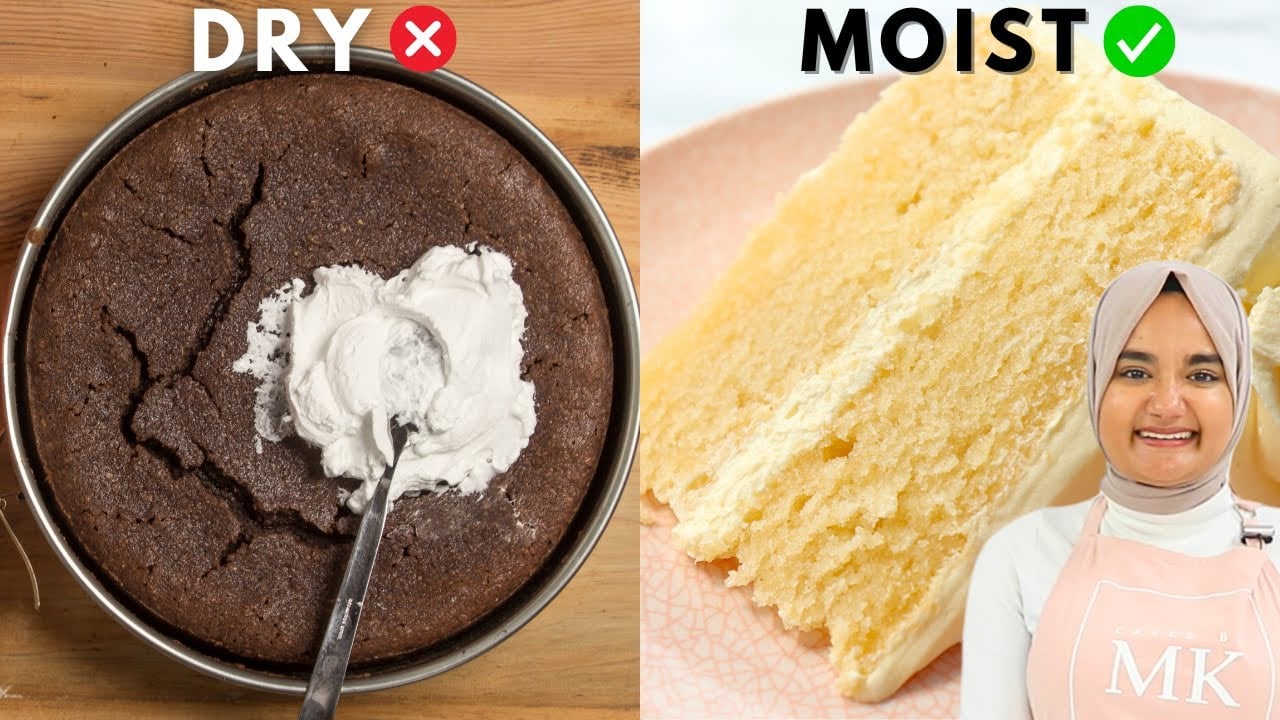
Signs of a Too-Dry Cake
A too-dry cake shows signs like a crumbly texture and a tough crust. It also lacks springiness when pressed. These problems come from an off wet-to-dry ratio or overbaking.
By following your recipe and baking instructions closely, you can avoid a dry cake.
Proper Measuring Techniques for Cake Ingredients
Getting the measurements right is key to baking success. For moist, crumb-free cakes, the right amounts of ingredients are essential. Measuring ingredients accurately can make a big difference in your cake’s quality.
A kitchen scale is a great tool for precise baking. It lets you weigh ingredients exactly as the recipe asks for. This is vital for the perfect cake texture. For instance, using a scale for flour helps avoid adding too much, which can make cakes dry and heavy.
If you use measuring cups, make sure to fluff your flour first. Then, level it off. This method prevents too much flour, which can make cakes crumbly. For liquids, use a clear cup and check the measurements at eye level for accuracy.
- Use a kitchen scale for precise ingredient measurements
- Fluff and spoon flour into measuring cups, not scoop
- Check liquid measurements at eye level in a clear cup
Being careful with measuring ingredients is the first step to a perfect cake. By following these tips, you’ll be on your way to baking success and a cake without crumbs every time.
The Impact of Mixing Methods on Cake Texture
Mastering cake mixing is key for the perfect texture. The right techniques can turn a cake into a moist, tender delight or a dense, crumbly mess. Let’s explore the science of mixing and find the secrets to baking success.
Signs of Overmixing
Overmixing can ruin a cake, making it crumbly. It develops too much gluten, leading to a tough, dense cake. The result is a dry, unpleasant texture.
Correct Mixing Speeds and Times
To avoid overmixing, follow the recipe’s mixing instructions closely. Mix on low speed until just combined. Undermixing can also cause a crumbly texture, so finding the right balance is important.
Properly creaming butter and sugar, ensuring ingredients are at room temperature, and mixing thoroughly but not too much are key. These steps help your cake rise well and stay moist and tender.
Mixing methods greatly affect cake texture. By recognizing overmixing signs and following the right mixing times, you can achieve soft, moist cakes. Your guests will love your baking skills.
Temperature Control During Baking
Getting the perfect cake texture is all about controlling the temperature. If your oven is too hot, your cakes might end up dry and crumbly. On the other hand, a cooler oven can stop your cake from rising right.
To make sure your cakes are moist and tender, you need to keep the oven temperature just right. Start by preheating your oven to the right temperature. Use an oven thermometer to check if your oven is at the correct temperature. This is key, as biscuits and scones bake better in a preheated oven.
Watch your cake closely as it bakes. Check it a few minutes before the time it’s supposed to be done. Your cake is ready when a toothpick inserted into the center comes out with a few moist crumbs. Remember, cakes keep baking a bit after they’re taken out of the oven, so don’t overbake them.
| Baking Scenario | Impact on Cake Quality |
|---|---|
| Baking in a preheated oven | Cakes exhibit a finer texture, higher rise, and thinner, more delicate outer crust with a slightly caramelized flavor. |
| Baking in a cold oven | Pound cakes are praised for being super moist, perfectly cooked, and evenly golden brown. |
By keeping the right oven temperature and baking time, you can make sure your cakes are perfectly cooked and don’t crumble. Always check the cake doneness to avoid overbaking and get the moist, tender texture you want.
“The longer, slower bake in a cold oven results in fruit pies with an even, deep golden brown crust and thoroughly cooked fillings.”
The Importance of Proper Cooling Time
Proper cooling time is key for the perfect cake texture. Rushing can cause crumbling, while slow cooling makes it soggy. To keep your cake moist and tender, follow this cooling guide.
Step-by-Step Cooling Process
- Let the cake cool in the pan for about 10 minutes. This helps it set and makes it easier to remove.
- Turn the cake out onto a wire cooling rack. The rack’s open weave lets air circulate, cooling the cake evenly.
- Let it cool completely at room temperature, which takes up to 2 hours. Don’t frost or cut it while it’s warm to avoid crumbling.
Common Cooling Mistakes to Avoid
- Leaving the cake in the pan too long can make the bottom soggy.
- Refrigerating the cake to cool it faster can dry out the inside and make the cake texture uneven.
- Cutting into a cooling cake before it’s fully cooled can cause it to fall apart, no matter how carefully you slice it.
By following these simple cooling guidelines, your cakes will stay moist and tender. They will also slice neatly every time. Proper cooling is the secret to the perfect cake texture from start to finish.
Selecting the Right Tools for Cutting Cake
Choosing the right tools is key when slicing your cake. A long, serrated knife is best. It helps you cut through the cake smoothly, without crumbling.
For cakes like chiffon or angel food, try using dental floss. It makes thin, even slices. This is great for cakes that are light and might crumble easily.
Don’t use a regular chef’s knife. Its sharp edge can ruin your cake. Clean your knife well between cuts for the best results. A damp cloth can remove any stuck frosting or crumbs.
“Food stylists sometimes use a long piece of clean fishing wire or unflavored dental floss to mark slices from one side to the other.”
| Cake Cutting Tool | Pros | Cons |
|---|---|---|
| Serrated Knife | – Ideal for most cakes – Allows for clean, even cuts | – May require more skill to use |
| Dental Floss | – Creates ultra-thin slices – Helpful for delicate cakes | – Difficulty on multi-layer cakes – Possible flavor impact |
| Chef’s Knife | – Suitable for slicing cake | – Can crush or tear the cake |
Using the right cake cutting tools is important. A serrated knife or dental floss can help. With these tools, you can cut your cake perfectly every time.
How to Store Your Cake to Maintain Texture
Storing your cake right is key to keeping it fresh and moist. Whether it’s unfrosted or frosted, a few easy steps can help. Your cake will stay moist and crumb-free for days.
Storage Duration Guidelines
Unfrosted cakes should be wrapped tightly in plastic wrap. Store them at room temperature for up to 3 days. This keeps the cake moist and prevents drying.
Frosted cakes need to be stored in an airtight container in the fridge. They can stay fresh for up to a week. The fridge keeps the cake’s texture and prevents frosting from getting soggy.
For longer storage, freeze your cake. Wrap each layer in plastic wrap and then foil. Freeze for up to 3 months. Thaw at room temperature before serving.
Best Storage Containers and Methods
- Wrap unfrosted cakes tightly in plastic wrap or use an airtight container.
- Frosted cakes should be in an airtight container, like a cake carrier or a plastic container with a tight lid.
- Don’t store cakes in the fridge for more than a week. The cold, dry air can dry out the cake.
- Always let cakes come to room temperature before serving. This ensures the best texture and flavor.
By following these tips, your homemade cakes will stay fresh and moist for days or weeks. Proper storage is the secret to a perfect crumb and preventing dryness.

The Role of Eggs and Substitutes in Cake Structure
Eggs are key to making a great cake. They add moisture, fat, and protein for a soft crumb. Large eggs weigh about 50g, medium eggs are a bit less, and extra-large eggs a bit more.
But, not everyone can or wants to eat eggs. Vegan bakers, those with allergies, or health-conscious people might look for alternatives. Luckily, there are many egg substitutes that help keep the cake’s structure right, including:
- Aquafaba (chickpea brine): Use 50 ml or 1/4 US cup to replace 1 egg.
- Ripe mashed avocado (about 1/4 US cup): Substitutes 1 egg.
- Ripe mashed bananas (roughly 1/4 US cup): Replaces 1 egg.
- Cornstarch slurry (1 tsp cornstarch + 3 tbsp water): Substitutes 1 egg.
- Flax egg (1 tbsp flax meal + 3 tbsp water): Replaces 1 egg.
- Plant-based milk and yogurt (1/4 US cup): Can substitute 1 egg.
These substitutes add moisture but don’t bind like eggs do. To get it right, use recipes made for egg-free baking. Or, be ready to tweak other ingredients to get the right texture.
“Eggs are key in cake structure, adding stability, moisture, and leavening for the best texture and taste.”
Egg whites, full of protein, help cakes stay firm and not crumble. When using substitutes, knowing their roles and how to mix them is vital. This ensures the cake turns out right in structure and texture.
Professional Tips for Achieving the Perfect Cake Texture
As a professional baking enthusiast, I’ve learned a few tricks for the perfect cake texture. Using cake flour, with its finer grind, can make your cakes delicate and velvety. Adding a bit of vegetable oil or sour cream/yogurt also boosts moisture and tenderness.
Another key tip is to have all ingredients at room temperature before mixing. This makes them mix better, leading to a smoother batter. Some bakers use the “reverse creaming” method. They mix dry ingredients with butter first, then add liquids. This method makes the cake tender and even.
Proper pan preparation and even batter distribution are also important. Greasing and lining pans help the cake come out clean. Even batter distribution prevents uneven or sunken areas.
| Cake Baking Tip | Benefit |
|---|---|
| Use cake flour for finer crumb | Delicate, velvety texture |
| Add vegetable oil or sour cream/yogurt | Enhances moisture and tenderness |
| Ensure room temperature ingredients | Easier mixing for a smoother batter |
| Try reverse creaming method | Creates a exceptionally tender, uniform texture |
| Properly grease and line pans | Ensures even baking and easy release |
By using these professional baking techniques, you can make cakes with perfect texture every time. Whether it’s a classic layer cake or something new, your cakes will impress. With practice and attention to detail, you’ll be a pro in no time!
“Baking is like chemistry, but with a creative twist. The right techniques can transform a simple cake into a work of art.”
Troubleshooting Different Types of Cake Crumbling
Baking a cake that stays together can be tough. But, with the right fixes, you can tackle crumbling issues. Whether it’s edge crumbling or a collapsed center, there are ways to fix it.
Fixing Edge Crumbling
Edge crumbling often comes from overbaking or dark pans. To avoid this, bake a bit less or lower the oven heat. Also, choose light pans to prevent edge browning.
Addressing Center Collapse
A sunken center can cause crumbling. This usually happens with old leavening agents or overmixing. Ensure your baking powder and soda are fresh. Be careful not to overmix the batter.
If the center keeps sinking, it might be your oven’s fault. Use an oven thermometer to check the temperature. This way, you can bake evenly and avoid crumbling.
By fixing the reasons behind cake troubleshooting, like edge crumbling and center collapse, you can make moist, tender cakes. These will stay in shape when you slice and serve them.

“Baking is a science, and understanding the factors that contribute to cake crumbling is the key to achieving perfectly textured results every time.”
Essential Equipment for Baking Non-Crumbly Cakes
Right equipment is key for baking cakes that stay together well. Quality baking equipment, cake pans, and mixing tools are vital for the perfect cake texture every time.
Choose light-colored, high-quality cake pans. Dark pans can make edges overbake, leading to a crumbly texture. Look for pans with straight sides and a smooth surface for even heat.
- A stand mixer or hand mixer is essential for the right batter consistency. Overmixing can make the cake tough and dense.
- Silicone spatulas are great for gently folding ingredients and cleaning the bowl. This ensures no unmixed batter.
Accurate measurements are key for cake success. Get a reliable oven thermometer for correct oven temperature. Also, a kitchen scale for precise ingredient ratios.
Don’t forget the importance of proper cooling. A cooling rack helps air circulate, preventing sogginess or crumbling. And a good serrated knife makes slicing easy, so you can enjoy your cake.
“With the right tools, you can bake cakes that are moist, tender, and hold together beautifully, no matter the occasion.”
With these essential tools, you’ll be ready to bake cakes that rise, set, and slice easily. No crumbling in sight.
Conclusion
Baking the perfect cake is about understanding the science and using the right techniques. It also takes patience. We’ve covered everything from ingredient ratios to cooling methods to help you get that ideal cake texture.
Even professional bakers face challenges. The key is to learn from each bake and keep experimenting. With these tips and tricks, you’re on your way to becoming a cake-baking success. Happy baking, and here’s to many delicious, perfectly sliced cakes in your future!
This troubleshooting summary has given you the tools and knowledge to tackle cake crumbling issues. By mastering ingredient balance, mixing methods, and temperature control, you can make cakes that are moist, tender, and easy to slice. Keep experimenting, learning, and enjoying the process – your taste buds (and guests) will thank you!
Baking is both an art and a science. So, embrace the journey and don’t be afraid to try new things. With these techniques, you’re well on your way to becoming a cake-baking pro. Cheers to your success and many more delicious creations to come!
FAQ
What causes a cake to crumble when I cut it?
Several things can make a cake crumble. Overbaking, underbaking, and not cooling it right are common causes. Also, using the wrong mix of ingredients or mixing it wrong can lead to crumbling.
How does cake structure and the balance of ingredients affect crumbling?
The right mix of flour, eggs, sugar, and fat is key. If these ingredients are off balance, the cake can become dry and crumbly.
What role does moisture play in preventing cake crumbling?
Moisture is very important for a cake’s stability. The right mix of wet and dry ingredients makes the cake tender and moist. Adjusting the recipe or baking time can help keep the cake moist.
How can I ensure accurate measuring of cake ingredients?
Measuring ingredients accurately is vital. Use a kitchen scale for precise measurements. Also, fluff and spoon flour into measuring cups correctly to get the right mix.
How does mixing method affect cake texture?
Mixing too much can make the cake tough and dense. Mixing too little can make it crumbly. Always follow the recipe’s mixing instructions carefully.
What temperature and cooling considerations are important for preventing cake crumbling?
The right oven temperature and cooling method are key. Overbaking dries out the cake, while underbaking makes it unstable. Cool the cake properly in the pan and on a wire rack.
What tools should I use for cutting cake to prevent crumbling?
A long, serrated knife is best for cutting cakes. Its sawing motion helps avoid compressing the cake. Using tools like unflavored dental floss can also prevent crumbling.
How can I store my cake to maintain its texture?
Storing the cake right is important. Wrap unfrosted cakes tightly in plastic wrap and keep them at room temperature. Store frosted cakes in an airtight container in the fridge.
How do egg substitutes affect cake structure and texture?
Eggs add moisture, fat, and protein to the cake. Using substitutes like applesauce or commercial egg replacers may require adjusting other ingredients for the right texture.
What are some professional tips for achieving perfect cake texture?
Using cake flour, adding a bit of vegetable oil, and adding sour cream or yogurt can help. Also, prepare the pan well and make sure the batter is evenly distributed for a smooth texture.