
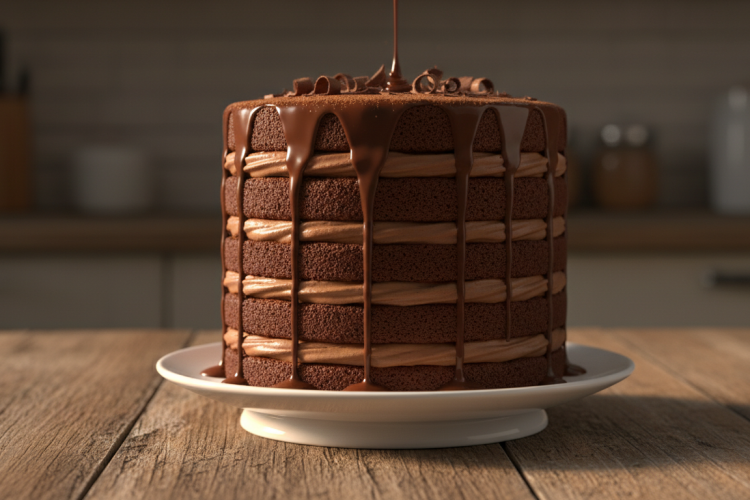
The secret to a truly fluffy chocolate cake is using hot coffee in the batter — it deepens the cocoa flavor and creates an ultra-tender, airy crumb that stays moist for days. Paired with silky chocolate buttercream and a glossy ganache drip, this from-scratch recipe delivers bakery-level results in your own kitchen.
Why This Fluffy Chocolate Cake Works
Most homemade chocolate cakes fall flat — literally. They come out dense, dry, or too fudgy to stack beautifully. This recipe solves every one of those problems with a few key techniques backed by baking science.
First, we use buttermilk. The acidity in buttermilk reacts with baking soda to produce carbon dioxide bubbles, which lift the crumb and create that signature soft, springy texture. If you don’t have buttermilk, you can make a quick substitute: 1 cup of whole milk plus 1 tablespoon of white vinegar or lemon juice, left to sit for 5 minutes.
Second, we use hot coffee or hot water. Adding hot liquid to cocoa powder blooms it — which essentially “wakes up” the cocoa compounds, extracting maximum chocolate intensity. You won’t taste coffee in the final cake; it just makes the chocolate taste more chocolatey. The food scientists at Serious Eats have documented exactly why this technique works so well in chocolate baking.
Third, we use oil instead of butter in the cake layers themselves. Butter creates a denser crumb because of its water content and the way it coats flour proteins. Oil, being 100% fat, keeps the crumb tender and moist even after refrigeration — which means this cake is just as good on day three as it is on day one.

Ingredients You’ll Need
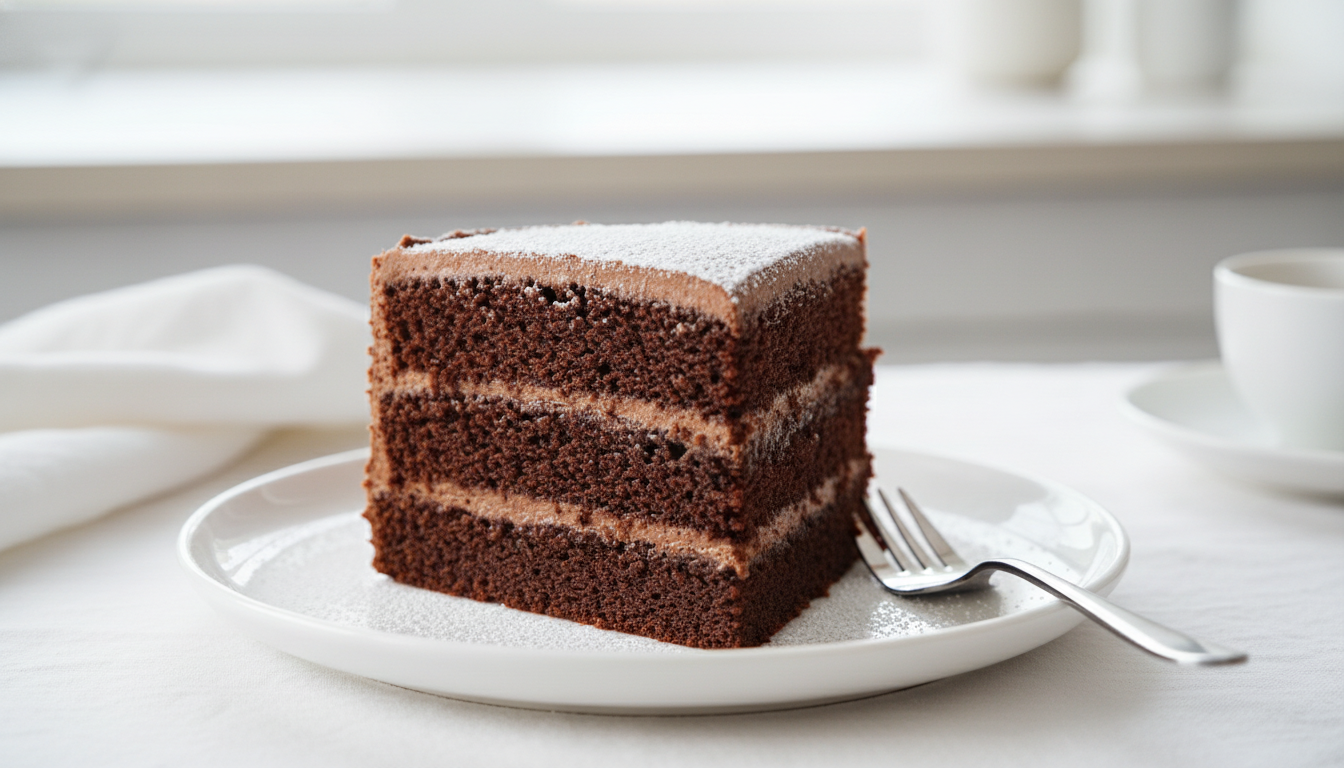
This recipe makes two 9-inch round layers — enough to build a tall, impressive layer cake that serves 12 to 16 people. Here’s everything you’ll need:
For the Cake Layers
- 2 cups (240g) all-purpose flour
- 2 cups (400g) granulated sugar
- ¾ cup (75g) unsweetened Dutch-process cocoa powder
- 2 teaspoons baking soda
- 1 teaspoon baking powder
- 1 teaspoon fine sea salt
- 2 large eggs, room temperature
- 1 cup (240ml) buttermilk, room temperature
- 1 cup (240ml) strong hot coffee (or hot water)
- ½ cup (120ml) neutral oil (vegetable, canola, or avocado)
- 2 teaspoons pure vanilla extract
For the Chocolate Buttercream
- 1 cup (225g) unsalted butter, softened to room temperature
- 3 cups (360g) powdered sugar, sifted
- ¾ cup (75g) unsweetened cocoa powder, sifted
- 4–6 tablespoons heavy cream
- 2 teaspoons pure vanilla extract
- Pinch of salt
For the Ganache Drip (Optional but Recommended)
- ½ cup (120ml) heavy cream
- 4 oz (115g) semi-sweet or dark chocolate, finely chopped (or use chips)
For the best results, use Dutch-process cocoa. It has a neutral pH (unlike natural cocoa, which is acidic), giving the cake a deeper color and a more mellow chocolate flavor. Dutch-process cocoa is treated with alkali to neutralize the natural acidity, which also makes it dissolve more readily into batters. If you can only find natural cocoa, it will still work — just make sure the rest of your leavening ratios are adjusted (reduce baking soda by ¼ teaspoon and increase baking powder by ½ teaspoon).

How to Make Fluffy Chocolate Cake: Step-by-Step
Step 1: Prepare Your Pans and Preheat
Preheat your oven to 350°F (175°C). Grease two 9-inch round cake pans generously with butter or baking spray, then line each with a parchment round. Grease the parchment too. This double-insurance method ensures clean release every single time — no torn layers, no stuck cakes.
Step 2: Whisk the Dry Ingredients
In a large bowl, whisk together the flour, sugar, cocoa powder, baking soda, baking powder, and salt. Whisking dry ingredients together thoroughly is more important than most home bakers realize — it distributes the leavening evenly so you don’t get random pockets of flat or overly airy cake. Sift if your cocoa or powdered sugar tends to clump.
Step 3: Combine the Wet Ingredients
In a separate bowl or large measuring cup, whisk together the eggs, buttermilk, oil, and vanilla. Keep the hot coffee separate for now — you’ll add it at the very end. Adding the hot coffee to the eggs too early can scramble them.
Step 4: Mix the Batter
Pour the wet ingredients into the dry and stir until just combined — a few small lumps are fine. Then slowly stream in the hot coffee while stirring gently. The batter will be very thin. This is normal and correct. Thin batter = steam in the oven = fluffy cake. Don’t panic and don’t add more flour.
If you’re wondering what to do if the batter seems too liquidy — check out our guide to what to do when cake batter is too thin for troubleshooting advice that applies here.
Step 5: Bake
Divide the batter evenly between your prepared pans. Bake for 30 to 35 minutes, rotating the pans halfway through. The cakes are done when a toothpick inserted in the center comes out with just a few moist crumbs (not wet batter) and the edges have pulled away slightly from the sides of the pan.
Do not open the oven before the 25-minute mark. Chocolate cakes are especially sensitive to temperature drops mid-bake — opening the oven early can cause the center to sink. Trust the timer.
Step 6: Cool Completely Before Frosting
Let the cakes cool in their pans for 10 minutes, then turn them out onto a wire rack and let them cool completely — at least 1 hour. If the cakes are even slightly warm when you frost them, the buttercream will melt and slide off. If you’re in a hurry, you can speed-cool them: place the layers on a wire rack and slide the whole rack into the freezer for 20 to 25 minutes.
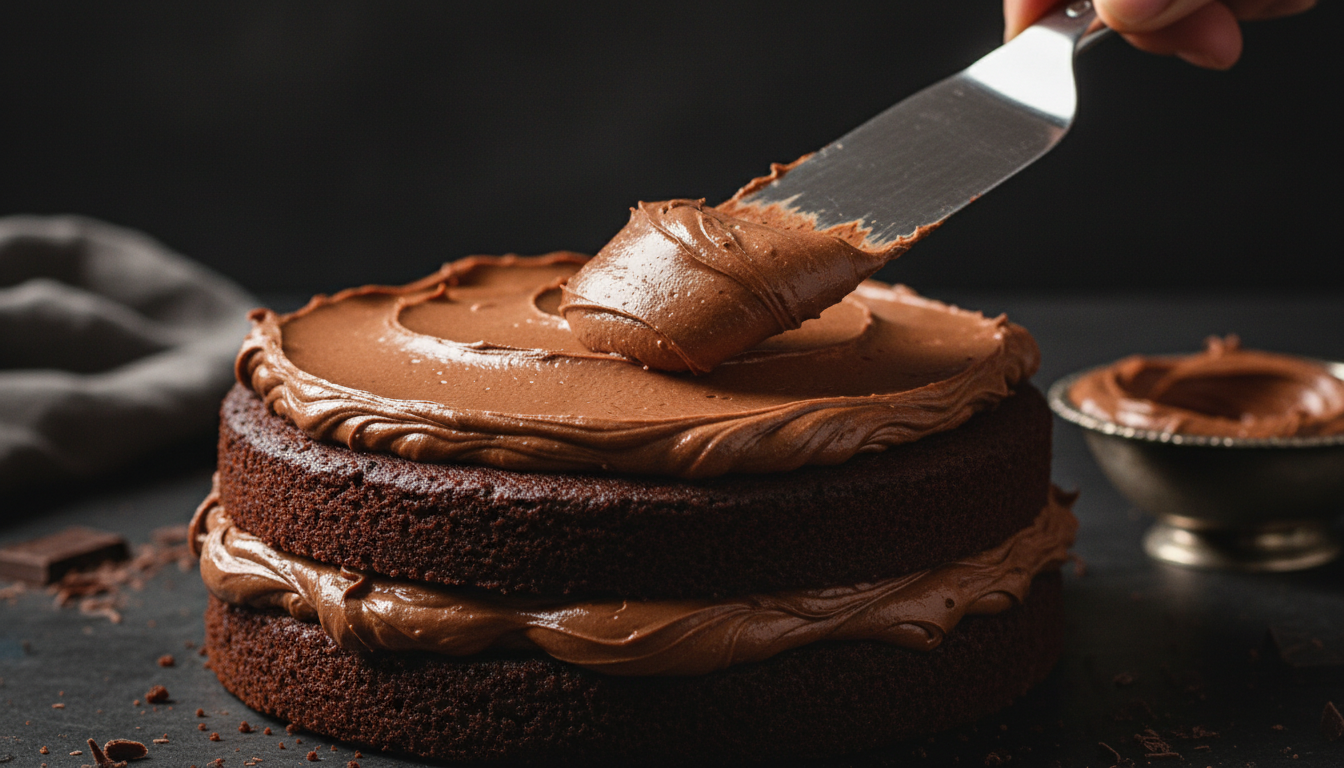
How to Make Chocolate Buttercream Frosting
The frosting for this cake is an American-style chocolate buttercream — simple, reliable, and incredibly rich. It pipes beautifully, spreads smoothly, and sets firm enough to hold its shape between layers without sliding.
Beat the softened butter with a stand mixer (paddle attachment) or a hand mixer on medium-high for 3 to 4 minutes, until it’s pale and very fluffy. Don’t skip this step — it’s what makes the frosting light and airy rather than dense and greasy.
Add the sifted cocoa powder and mix on low until incorporated. Then add the powdered sugar one cup at a time, alternating with splashes of heavy cream. Add the vanilla extract and a pinch of salt. Beat on high for 2 full minutes after all ingredients are added. The buttercream should be thick enough to hold stiff peaks but still spreadable. Adjust consistency: add more cream for a softer spread, more powdered sugar for stiffer piping.
For a similar approach on a different style of cake, see how we build the frosting in our Churro Cake Recipe — the technique for airy buttercream is the same.
Assembling the Layer Cake
Place one cooled cake layer on your serving plate or cake board. Spread a generous, even layer of buttercream on top — about ¾ to 1 cup. Place the second layer on top, pressing down very lightly to set it. Apply a thin crumb coat all over the outside of the cake: a thin, rough first layer of frosting that traps any loose crumbs. Refrigerate for 15 to 20 minutes to set the crumb coat.
Then apply the final layer of frosting. Use an offset spatula for smooth sides and a bench scraper for perfectly clean edges if you want a polished finish. Or go casual and rustic — the swirl technique (pressing the back of a spoon in spirals across the top) is fast, forgiving, and looks intentional.
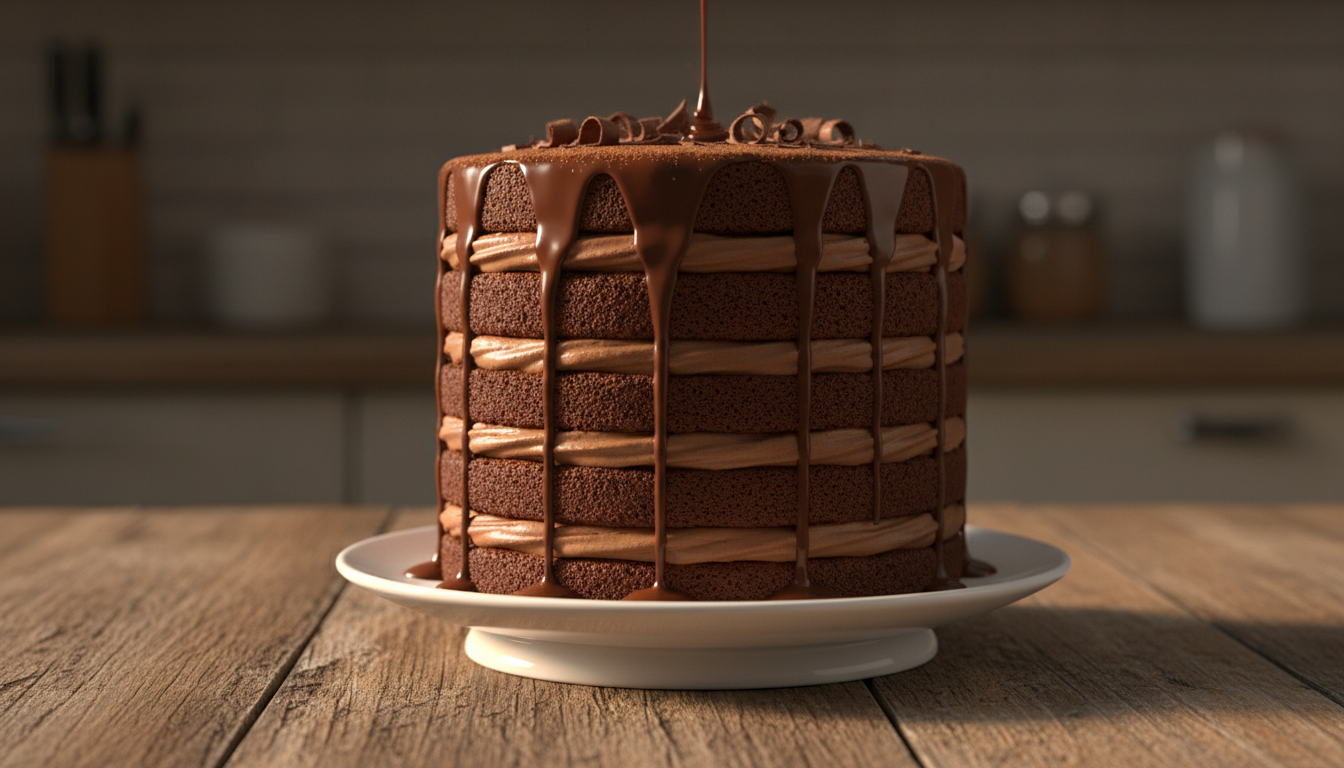
How to Make the Chocolate Ganache Drip
The ganache drip is the finishing flourish that turns a good homemade cake into something that looks professionally made. It’s also remarkably easy. Heat the heavy cream in a small saucepan over medium heat just until it starts to simmer — tiny bubbles at the edges, not a rolling boil. Pour it over the chopped chocolate in a heatproof bowl and let it sit, undisturbed, for 2 minutes. Then stir from the center outward until completely smooth and glossy.
Let the ganache cool for 5 to 10 minutes until it’s the consistency of thick maple syrup. Then pour it in the center of the chilled, frosted cake and use a small spoon or squeeze bottle to nudge it over the edges in controlled drips. Work quickly — once the ganache touches the cold frosted cake it starts to set. For a thicker drip, let the ganache cool longer. For a thinner, runnier drip, use it a bit warmer.
You can also use a similar ganache technique as a filling or glaze in our Caramel Churros Recipe — the same chocolate sauce works beautifully as a dipping sauce alongside churros.
Storage, Make-Ahead, and Freezing Tips
One of the best things about this cake is how well it keeps. The oil-based layers stay moist at room temperature for 3 to 4 days when stored under a cake dome or in an airtight container. If your kitchen is warm (above 72°F), refrigerate the assembled cake — the buttercream will firm up in the fridge but soften again at room temperature within 30 minutes before serving.
Make-ahead strategy: The cake layers can be baked, cooled, and wrapped tightly in plastic wrap up to 2 days ahead at room temperature, or up to 3 months in the freezer. The buttercream can be made up to 1 week ahead and refrigerated; let it come to room temperature and re-beat before using. The ganache keeps in the refrigerator for 2 weeks — microwave it in 10-second bursts to re-melt.
Freezing the assembled cake: You can freeze the fully assembled, frosted cake. Place it uncovered in the freezer for 1 hour until the frosting is solid, then wrap it tightly in two layers of plastic wrap. Thaw overnight in the refrigerator. The texture will be virtually identical to fresh.
Variations and Flavor Twists
Once you have the base recipe down, this fluffy chocolate cake is an endlessly versatile canvas:
- Mocha Chocolate Cake: Double the coffee in the batter and add 1 teaspoon of espresso powder to the buttercream for an intense mocha flavor that pairs perfectly with the dark chocolate.
- Mexican Hot Chocolate Cake: Add 1 teaspoon of cinnamon and a pinch of cayenne to the dry ingredients. Finish with a cinnamon-spiked whipped cream instead of ganache for a nod to Mexican chocolate tradition.
- Mint Chocolate Cake: Replace the vanilla extract in the buttercream with ½ teaspoon of pure peppermint extract. Add a drop of green food coloring for a striking visual contrast against the dark cake layers.
- Sheet Cake Version: Pour all the batter into a greased 9×13-inch pan and bake for 35 to 38 minutes. Frost directly in the pan and skip the ganache for a casual weeknight dessert.
- Cupcakes: This batter makes 24 standard cupcakes. Fill liners ⅔ full and bake at 350°F for 18 to 20 minutes.
If you love chocolate desserts with a cinnamon twist, our Churro Cake Recipe is worth a read — the cinnamon-chocolate combination is genuinely addictive.
Common Mistakes and How to Avoid Them
Even experienced bakers run into issues with chocolate cake. Here are the most common pitfalls and exactly how to fix them:
Dense, Heavy Cake
Usually caused by overmixing after the flour is added (developing too much gluten), using cold eggs or buttermilk straight from the fridge, or measuring flour incorrectly (spooning and leveling, not scooping). Use a kitchen scale for flour if you have one.
Sunken Center
Classic signs of underbaking or opening the oven too early. Make sure your oven is at the right temperature (ovens often run 25°F cooler than the dial reads — use an oven thermometer). The toothpick test is your best friend here.
Dry Cake
Almost always the result of overbaking. Check the cake 5 minutes before the minimum time listed. Oil-based cakes have a wider baking window than butter-based ones, but they can still dry out if left in too long.
Buttercream Too Greasy
Your butter was too warm. Refrigerate the buttercream for 10 to 15 minutes, then re-beat. It will come together and be silky again.
Ganache Too Thick to Pour
Gently warm it in the microwave in 10-second increments, stirring between each, until it reaches the right consistency. A ratio of 1:1 cream to chocolate is ideal for a pourable drip ganache.
For more dessert troubleshooting tips, our Easy Tiramisu Recipe also covers how to fix common layer-dessert problems that apply across cake and no-bake formats.
Serving Suggestions
This cake is an occasion in itself, but the right pairing elevates it further. Serve each slice with a small scoop of vanilla bean ice cream for the classic hot-fudge-sundae effect. A drizzle of homemade caramel sauce alongside is another fantastic pairing — the bittersweet chocolate and buttery caramel are one of baking’s most celebrated flavor combinations.
For a full dessert spread at a party or dinner, pair this cake with something lighter — a fruit sorbet, a simple pavlova, or a platter of fresh berries with whipped cream. The richness of the chocolate cake benefits from a contrasting lighter element on the table.
Frequently Asked Questions
Can I make this fluffy chocolate cake gluten-free?
Yes. Substitute the all-purpose flour 1:1 with a high-quality gluten-free flour blend that contains xanthan gum (Bob’s Red Mill 1-to-1 or King Arthur Measure for Measure both work well). The texture will be very slightly denser but the flavor is virtually identical. Let the batter rest for 10 minutes before baking to allow the GF flour to hydrate.
Can I use brewed decaf coffee instead of regular?
Absolutely. The coffee is there for flavor enhancement, not caffeine. Decaf works identically. You can also use hot chocolate powder dissolved in hot water as a full coffee substitute if you want an even more intense chocolate flavor.
How do I know when the cake layers are fully baked?
Insert a toothpick or thin knife into the center of each layer. It should come out with a few moist crumbs attached — not wet batter, but not completely dry either. The edges of the cake will also pull away from the sides of the pan slightly when done. An internal temperature of 205°F to 210°F on an instant-read thermometer is a reliable indicator of doneness for layer cakes.
Can I make this as a one-layer sheet cake instead?
Yes — pour the entire batter into a greased 9×13-inch baking pan and bake at 350°F for 35 to 38 minutes. Check for doneness with a toothpick. Frost directly in the pan for easy serving at potlucks and gatherings.
What’s the difference between Dutch-process and natural cocoa in this recipe?
Dutch-process cocoa (also called alkalized cocoa) is treated to neutralize acidity, resulting in a darker color and milder, earthier chocolate flavor. Natural cocoa is acidic and reacts with baking soda to provide additional rise. This recipe is written for Dutch-process, which works with the baking soda already in the formula. If you use natural cocoa, the cake will still work but will have a slightly different flavor and a lighter brown color.