

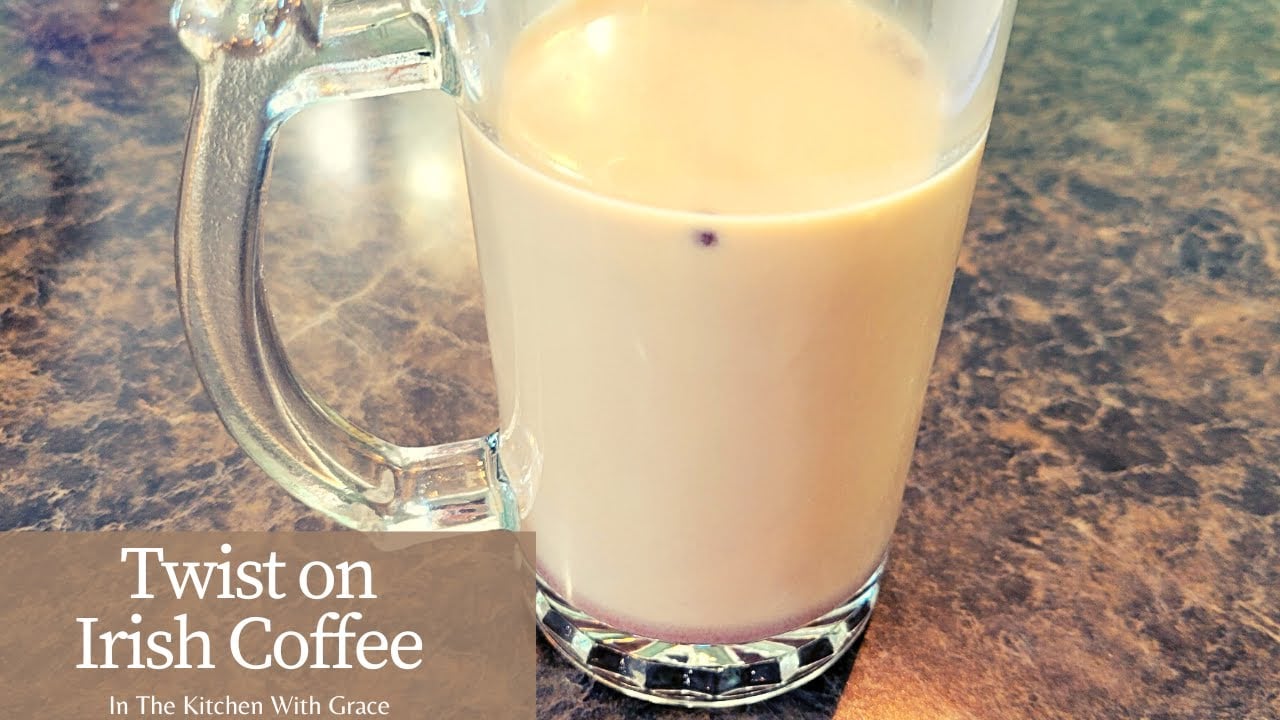
Okay, dessert lovers, gather ’round! If you’re anything like me, sometimes you want a sweet treat that’s got a little oomph – something a bit more grown-up than your average sugar bomb. That’s where these Irish Coffee Mousse Cups swoop in to save the day. We’re talking seriously smooth, melt-in-your-mouth mousse, infused with the cozy vibes of Irish coffee and a lovely splash of premium Irish whiskey for that extra bit of zing. Trust me, these are not your grandma’s mousse cups (unless your grandma is super cool and loves a good whiskey!).
Seriously, forget boring desserts. These Irish Coffee Mousse Cups are all about treating yourself (and maybe some lucky friends) to something truly special. Imagine that first spoonful – the airy mousse, the rich coffee notes, and then that delicious warmth from the premium Irish whiskey subtly kicking in. It’s like a hug in a dessert cup, but, you know, a fancy hug. Perfect for a cozy night in, a sophisticated dinner party, or honestly, just because you deserve a little bit of boozy, creamy deliciousness. Ready to get your mousse on?
Ready to dive in? I’ll walk you through every step, from mixing to chilling, and even share some creative serving ideas. If you love desserts with a boozy kick, you’ll adore this one. And if you’re a fan of chocolate tiramisu, this recipe will feel like a delightful cousin. Let’s get started!

Irish Coffee Mousse Cups
Equipment
- Mixing bowl
- Electric mixer for whipping cream and mousse
- Piping bag for filling dessert cups
- Small dessert cups or glasses for serving
- Refrigerator for setting the mousse
Ingredients
- 1 cup heavy whipping cream cold
- 1/2 cup strong brewed coffee cooled to room temperature
- 1/4 cup Irish whiskey premium quality
- 8 oz cream cheese softened
- 1/2 cup powdered sugar
- 1 tsp vanilla extract
- 1 cup whipped topping for garnish
- 1/4 cup chocolate shavings for topping
Instructions
- In a mixing bowl, use an electric mixer to beat the heavy whipping cream until stiff peaks form. Set aside.
- In another bowl, beat softened cream cheese, powdered sugar, and vanilla extract until smooth. Gradually mix in the cooled coffee and Irish whiskey until well combined.
- Gently fold the whipped cream into the coffee mixture until smooth and airy.
- Transfer the mousse to a piping bag and fill small dessert cups or glasses evenly. Smooth the tops with a spatula if needed.
- Refrigerate for at least 2 hours to set the mousse.
- Before serving, top each mousse cup with whipped topping and chocolate shavings. Enjoy this boozy and creamy treat!
Notes
- Optional Equipment: A zester can be used to create fine chocolate shavings for garnish.
- Customization: Add a splash of coffee liqueur for extra depth of flavor.
- Storage: Store in the refrigerator for up to 3 days. Keep covered to maintain freshness.
- Serving Tip: For a more elegant presentation, use martini glasses or small glass jars.
Introduction: The Story Behind Irish Coffee Mousse Cups
The first time I sipped a classic whiskey-infused drink, I knew I had to turn it into a dessert. The bold flavors of espresso and the smooth finish of whiskey were irresistible. I wanted to capture that same magic in a creamy, indulgent treat.
My journey began with countless kitchen experiments. I played with different ratios of espresso, whiskey, and whipped cream to find the perfect balance. It wasn’t easy, but the result was worth it. The key was using precise measurements—like a tablespoon of espresso powder and a teaspoon of sugar—to create a harmonious flavor profile.
Transforming a drink into a dessert required careful planning. I learned that setting aside mixtures at the right time was crucial for achieving the ideal texture. The whipped cream, for example, needed to be perfectly whipped before folding it into the chocolate mixture. This step ensured a light, airy mousse that melted in your mouth.
Every ingredient plays a vital role in this recipe. The espresso adds depth, the whiskey brings warmth, and the whipped cream provides a sweet, creamy finish. Together, they create a dessert that’s both sophisticated and comforting.
I’m thrilled to share this recipe with you. It’s a testament to how simple ingredients can come together to create something extraordinary. Whether you’re hosting a dinner party or treating yourself, this dessert is sure to impress. Ready to dive in? Let’s explore the full story behind this delightful creation!
Essential Ingredients and Equipment
Creating a dessert that balances bold flavors and smooth textures starts with the right ingredients. Quality matters—every component plays a role in achieving that perfect blend of richness and lightness. Let’s dive into what you’ll need to make this treat a success.
Ingredients List: From Irish Whiskey to Espresso
To create this dessert, you’ll need a few key ingredients. Start with premium Irish whiskey, like Jameson, for that warm, boozy kick. Freshly brewed espresso adds depth, while powdered gelatin ensures the mousse sets perfectly. Large eggs and chilled heavy cream are essential for that airy texture.
Here’s the full list:
- 2 ounces Irish whiskey
- 16 ounces freshly brewed espresso
- 2 tablespoons brown sugar
- 1 tablespoon powdered gelatin
- 3 large eggs
- 1 cup heavy cream
- Optional: cocoa nibs for garnish
Using high-quality ingredients makes a noticeable difference. For example, top-notch chocolate in the chocolate mixture enhances the overall flavor. And don’t skip chilling the heavy cream—it’s key to achieving that light, fluffy texture.

Must-Have Kitchen Tools and Equipment
You don’t need fancy gadgets to make this dessert. Most of the tools are likely already in your kitchen. A sturdy mixing bowl is essential for combining ingredients, while a hand mixer or stand mixer helps whip the cream to perfection. Use ramekins or small jars for serving—they add a charming touch.
Here’s what you’ll need:
- Mixing bowl
- Hand mixer or stand mixer
- Ramekins or small jars
- Measuring cups and spoons
- Whisk
If you don’t have ramekins, small glasses or dessert cups work just as well. The goal is to keep it simple and stress-free. With the right tools, you’re one step closer to dessert perfection.
If you’re a fan of layered desserts, you’ll love this recipe as much as my Oreo Tiramisu. Both are easy to make and perfect for any occasion.
Step-by-Step How-To Guide
Follow this detailed guide to craft a dessert that’s as smooth as it is flavorful. Each step is designed to help you achieve the perfect balance of richness and lightness. Let’s get started!
Mixing, Cooking, and Incorporating Flavors
Begin by hydrating the gelatin. Sprinkle it over cold water and let it sit for 5 minutes. Meanwhile, heat the espresso and sugar in a saucepan until the sugar dissolves. Remove from heat and stir in the hydrated gelatin until fully melted.
In a separate bowl, whisk the egg yolks until smooth. Slowly pour the warm espresso mixture into the yolks, whisking constantly. This step ensures a silky base for your chocolate mousse.
Next, melt the chocolate in a double boiler or microwave. Gently fold it into the espresso mixture. Be careful not to overmix—this keeps the structure airy and light.

Now, whip the heavy cream using a mixer until it reaches soft peaks. This is crucial for the mousse’s texture. Fold the whipped cream into the chocolate base in three batches, using a spatula to maintain its fluffiness.
Chilling, Setting, and Final Touches
Pour the mixture into ramekins or small jars. Tap them gently on the counter to remove air bubbles. Cover and refrigerate for at least 4 hours, or until set. This chilling time is essential for the perfect consistency.
Before serving, add a final touch. Sprinkle cocoa nibs or shaved chocolate on top for a decorative finish. If you’re a fan of quick desserts, you’ll love this Oreo mug cake recipe too.
| Step | Time | Key Tip |
|---|---|---|
| Hydrate Gelatin | 5 minutes | Use cold water for best results. |
| Heat Espresso | 5 minutes | Stir constantly to dissolve sugar. |
| Whisk Egg Yolks | 3 minutes | Whisk vigorously for smoothness. |
| Whip Cream | 4 minutes | Stop at soft peaks for ideal texture. |
| Chill Mousse | 4 hours | Cover to prevent odors. |
“The key to a perfect mousse is patience. Take your time with each step, and you’ll be rewarded with a dessert that’s both elegant and indulgent.”
Tips, Variations, and Presentation Ideas
Elevating a classic dessert with a twist is all about creativity and personal touches. Whether you’re serving this treat for a special occasion or just because, these tips and ideas will help you make it unforgettable. Let’s dive into ways to customize and present your dessert like a pro.
Creative Serving Suggestions and Garnishes
Presentation is key to making your dessert stand out. Use ramekins, small jars, or even wine glasses for a chic look. For a festive touch, try green sprinkles or a dusting of cocoa powder for St. Patrick’s Day. A drizzle of caramel sauce or chocolate shavings adds both flavor and visual appeal.
Adjusting flavors is easy. Add a splash of vanilla extract for extra sweetness or reduce the whiskey for a milder taste. If you prefer an alcohol-free version, swap the whiskey for a teaspoon of vanilla extract and a pinch of espresso powder. The texture will remain just as smooth and creamy.
Timing is crucial for the perfect texture. Chill the dessert for at least 4 hours, but overnight is ideal for a firmer set. Serve it slightly chilled for the best experience. Don’t forget to pin your favorite presentation ideas for future reference!
For more festive dessert inspiration, check out these 13 Delicious Desserts to Celebrate St. Patrick’s. They’re perfect for adding charm to any celebration.
“The beauty of this dessert lies in its versatility. Experiment with flavors and garnishes to make it uniquely yours.”
I’d love to hear how you personalized this treat! Leave a comment below or tag your photos with #DessertMagic. Your creativity might just inspire someone else’s next day in the kitchen.
Perfect Irish Coffee Mousse Cups Recipe for Every Occasion
This recipe is a game-changer for anyone who loves a dessert with a twist. It’s versatile, easy to make, and perfect for any event. Whether you’re hosting a party or enjoying a quiet evening, this treat will impress.
The secret lies in the balance of flavors. A hint of whiskey adds warmth, while the creamy texture makes it indulgent. It’s a sophisticated dessert that’s both rich and light.
Complete Recipe for Your Next Gathering
Here’s everything you need to recreate this recipe at home. The ingredients are simple, but the result is extraordinary. Follow these steps for a dessert that’s sure to wow your guests.
- 2 ounces whiskey
- 16 ounces freshly brewed espresso
- 2 tablespoons brown sugar
- 1 tablespoon powdered gelatin
- 3 large eggs
- 1 cup heavy cream
- Optional: cocoa nibs for garnish
Using a mixer, whip the cream until it reaches soft peaks. This ensures a light, airy texture. Fold it into the espresso mixture gently to maintain its fluffiness.
Tips for Perfect Timing and Flavor
Timing is key for the perfect dessert. Chill the mousse for at least 4 hours, or overnight for a firmer set. This allows the flavors to meld beautifully.
For a milder taste, reduce the whiskey or add a splash of vanilla extract. If you’re serving this at a party, prepare it a day ahead to save time.
| Step | Time | Key Tip |
|---|---|---|
| Whip Cream | 4 minutes | Stop at soft peaks for ideal texture. |
| Fold Mixture | 5 minutes | Use a spatula to maintain fluffiness. |
| Chill Mousse | 4 hours | Cover to prevent odors. |
For more dessert inspiration, check out this hazelnut latte recipe. It’s another crowd-pleaser that’s easy to make and perfect for any occasion.
“The beauty of this dessert lies in its versatility. Experiment with flavors and garnishes to make it uniquely yours.”
I’d love to hear how you personalized this treat! Leave a comment below or tag your photos with #DessertMagic. Your creativity might just inspire someone else’s next day in the kitchen.
Whip Up Your Own Irish Coffee Mousse Magic Today!
Whipping up a dessert that’s both indulgent and elegant has never been easier. By following the detailed instructions, you’ll achieve a perfect balance of flavors and a silky-smooth texture. Remember, patience is key—set aside time for chilling to let the dessert fully set.
I’d love to hear how your treat turned out! Did you add a splash of vanilla or experiment with garnishes? Share your creations in the comments below or tag your photos with #DessertMagic. Don’t forget to pin this recipe for your next day of baking inspiration.
Whether you’re enjoying this dessert on a cozy evening or serving it at a gathering, it’s sure to impress. Celebrate the joy of home baking and make every bite a moment to savor. Happy baking!
FAQ
Can I use instant coffee instead of espresso?
Absolutely! Instant coffee works well if you don’t have espresso. Just dissolve it in hot water for a similar flavor.
How long does it take for the mousse to set?
It typically takes about 2-3 hours in the fridge. For best results, let it chill overnight for a firmer texture.
Can I make this dessert alcohol-free?
Yes, you can skip the whiskey and add a splash of vanilla extract for a non-alcoholic version that’s just as delicious.
What’s the best way to whip the cream?
Use a hand mixer or stand mixer on medium speed. Make sure the cream is cold, and stop when it forms soft peaks for the perfect texture.
Can I prepare this dessert ahead of time?
Definitely! It’s a great make-ahead treat. Just store it in the fridge and add garnishes before serving.
What can I use if I don’t have chocolate mousse cups?
You can use small dessert bowls, ramekins, or even mason jars for a fun presentation.
How do I prevent the cream from curdling?
Ensure all ingredients are at room temperature before mixing, and avoid over-whipping the cream.
Can I add other flavors to this recipe?
Yes! Try adding a pinch of cinnamon, a drizzle of caramel, or even a sprinkle of cocoa powder for a unique twist.